
Unbrick WD My Cloud 3TB
-
Open the case, follow this vidoe without breaking anything, use credit cards in front on two sides, and strong knife to push from back. follow this link:
- Hook to a Ubunutu box via a SATA cable to retrieve data (I tried all window tools with no luck of retrieving data- v4 firmware)
- Download a virgin disk image (for 3TB from baidu cloud) 2TB image here: link
-
Restore the virgin disk image you downloaded, use DISKS utility to restor the image, click on the wheel icon on top right (individual partition restore did not work for me). Use Gparted to check sd*4 is ext4 with 2.7GB in size, you can format it to ext4 if needed.
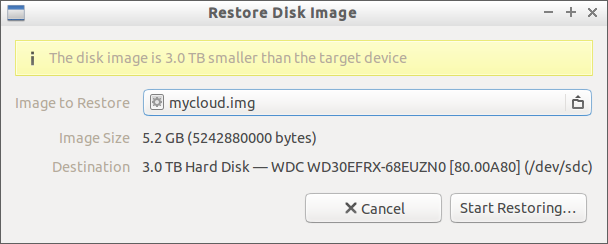
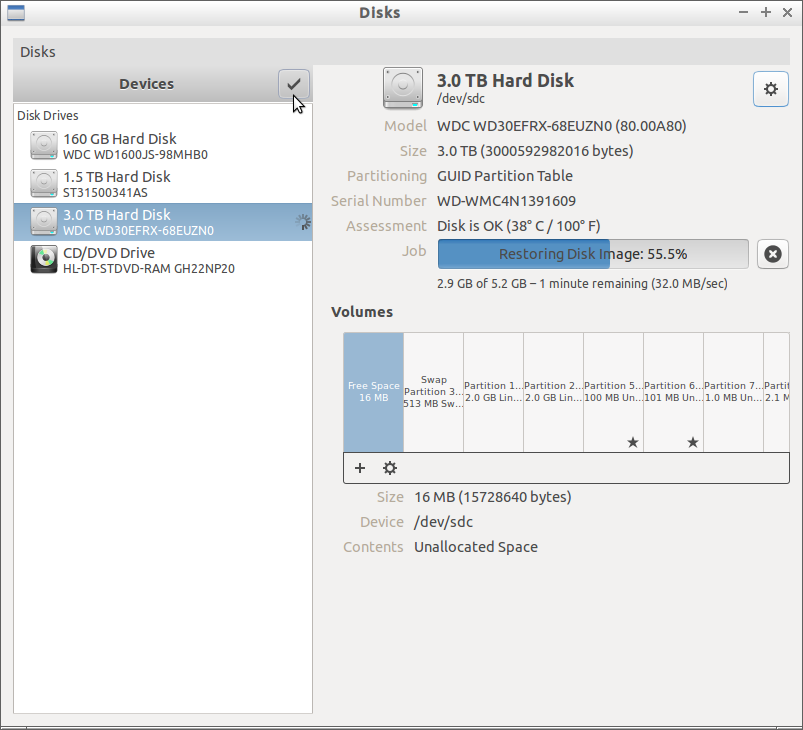
- Put the board back on and plugin power and ethernet cable, initialize and follow the installation instruction from a web browser.
WD My Cloud Hacking
Turn off auto update, stays with v3, NOT v4
Turn on SSH and turn off auto update and modified the file so that downgrade will be allowed. You might need to resize your My Cloud via a hard reset. May need to factory restore after -hold reset button for 10 secs, keep holding, unplug power, 30sec, plug back in, keep holding 40secs and then release.
Guide to install OwnCloud
-
back up sourcelist
123cp /etc/apt/sources.list /etc/apt/sources.list.bakmodifiy sourcelist, this worked for my case.
123http://ftp.us.debian.org/debian/ sid mainDifferent version of repository. 1
-
Make the file excutable (chomod +x) and execute (-step1.sh) or input stepwise at shell (only install php5.gd, or the wd web UI will break):
12345678910111213141516171819202122232425262728293031#!/bin/bash# script adapted from http://community.wd.com/t5/My-Book-Live/GUIDE-Installing-OwnCloud-Server-on-My-Book-Live/td-p/561699#check that requirements are fullfilledif [ "$(id -u)" != "0" ]; thenecho -e "this script must be run as root.\n"exit 1fiecho -n "Removing WD-NAS Package References..."rm -f /var/lib/dpkg/info/wd-nas.*echo "done!"echo "When prompted to install packages or unverified packages, answer Y to both prompts."echo "When prompted to overwrite files, choose NOT to overwrite them."echo "Overwriting the files may cause your system to **bleep**. So dont."#echo "read -p "Do you understand and wish to continue? [y/N] " -n 1#if ! [[ $REPLY =~ ^[Yy]$ ]]; then# echo -e "\nUSER ABORT\n"# exit 1;#fi#http://community.wd.com/t5/WD-My-Cloud/OwnCloud/td-p/679681/page/2 -good#http://community.wd.com/t5/WD-My-Cloud/GUIDE-Owncloud/td-p/693820 -do not follow the install packageapt-get updateapt-get install php5-gd #only this package, otherwise the UI will breakclearecho -ne "Packages Installed. Installing Owncloud"cd /var/www/htdocswget https://download.owncloud.com/download/community/setup-owncloud.php --no-check-certificatechmod 755 setup-owncloud.phpchgrp www-data /var/www/htdocschmod g+w /var/www/htdocsChoose agree to update the follow by “keep current setting” when prompted (two at shell buffer and two gui, as shown following)
123456789101112Configuration file `/etc/cron.d/php5'==> Modified (by you or by a script) since installation.==> Package distributor has shipped an updated version.What would you like to do about it ? Your options are:Y or I : install the package maintainer's versionN or O : keep your currently-installed versionD : show the differences between the versionsZ : start a shell to examine the situationThe default action is to keep your current version.*** php5 (Y/I/N/O/D/Z) [default=N] ?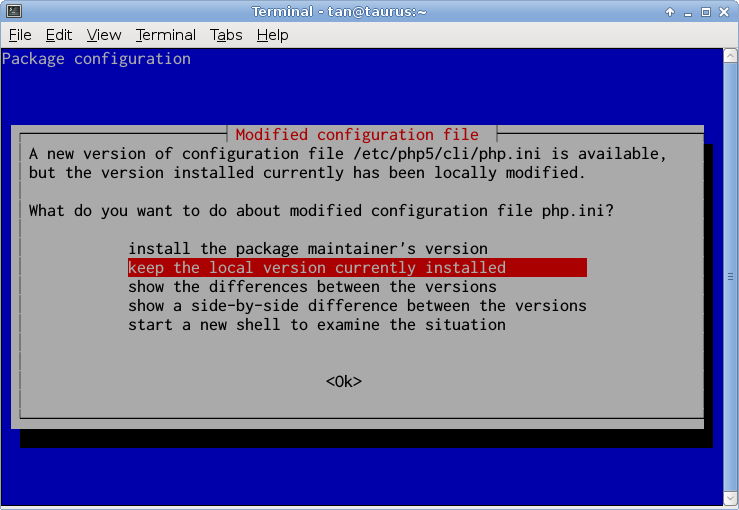
-
Set up Owncloud.
1234cd /var/www/htdocsnano -c +146 setup-owncloud.php -
Create a admin user name and password.
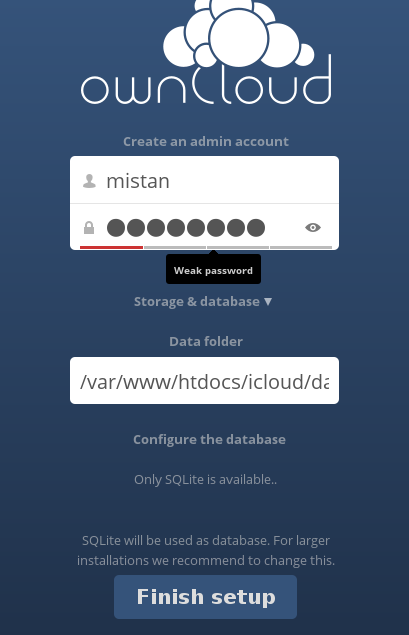
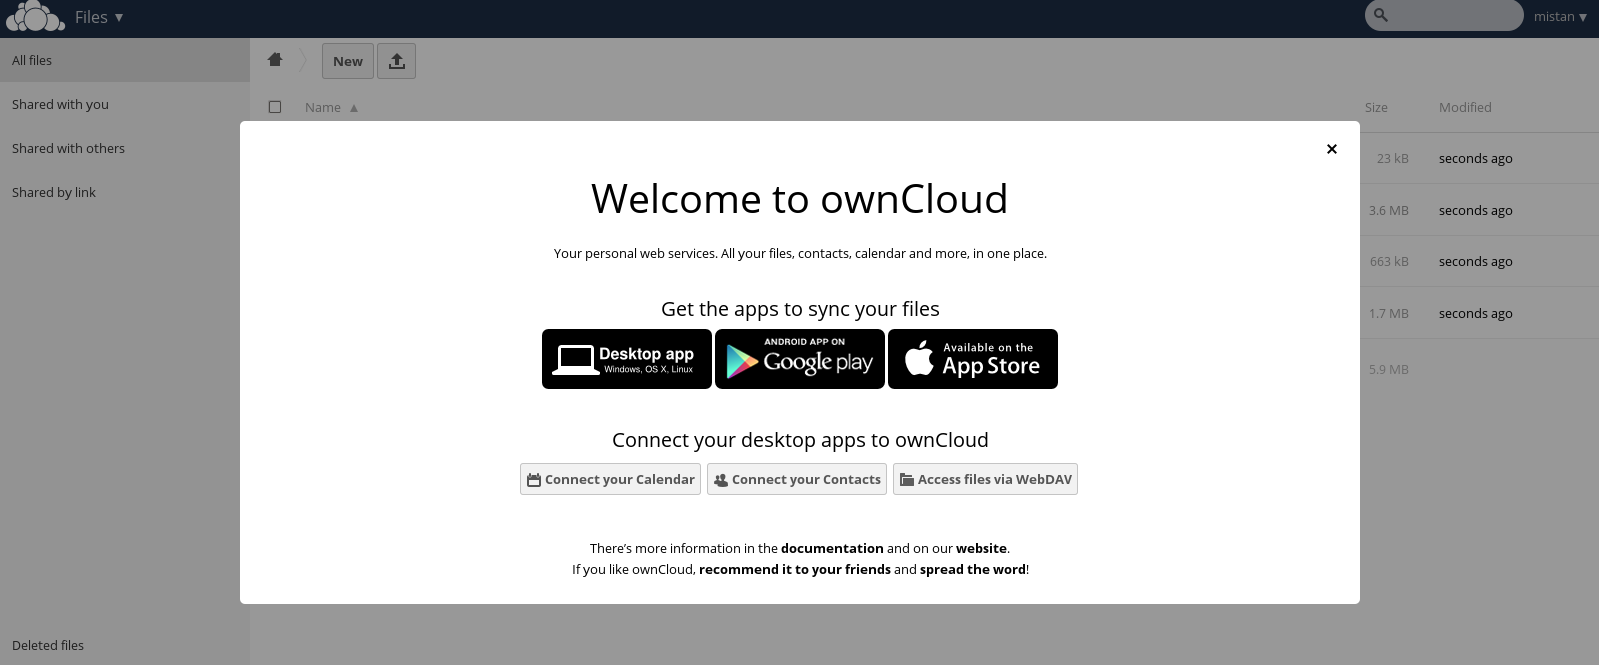
- If nothing goes wrong, you should have access to the your owncloud dashboard.
-
Update configration file using your owncloud name (put conf in etc/apache2/conf.d does not work)
123nano /etc/apache2/sites-available/icloud.conf12345678910<Directory /var/www/htdocs/icloud/>AllowOverride AllOptions +FollowSymLinks</Directory><Directory /var/www/htdocs/icloud/data>Order deny,allowDeny from all</Directory> -
Excute the 2nd script
12345678910111213141516#!/bin/bash#check that requirements are fullfilledif [ "$(id -u)" != "0" ]; thenecho -e "this script must be run as root.\n"exit 1fi/etc/init.d/apache2 restartchmod g-w /var/www/htdocsservice apache2 stopmv /var/www/htdocs/icloud/data /DataVolume/icloud_datachgrp www-data /DataVolume/icloud_datachmod 770 /DataVolume/icloud_dataln -s /DataVolume/icloud_data /var/www/htdocs/icloud/dataservice apache2 start -
Find the emailing notification issue.
123ln -s /var/www/rest-api/lib/pear/includes /usr/share/pearIncrease Apache speed (adapted from link here):
12345nano /etc/apache2/mods-enabled/mpm_prefork.conf:MaxRequestWorkers 10 -> 256MaxConnectionsPerChild 10 -> 256 - Clean up and Enjoy your own Dropbox!
Mount and access your owncloud drive from Arch Linux
-
Install davfs2 – adapted from link
123sudo pacman -S davfs2You should be able to access your owncloud from a file manager using davs://your-owncloud-url:port#/remote.php/webdav/
-
or, mount as regular user, link First, add yourself to network group (where username is replaced with your username):
123usermod -a -G network username -
Add webdav entry to /etc/fstab (again, replacing username with your actual username):
123https://webdav.example.com /home/username/webdav davfs user,noauto,uid=username,file_mode=600,dir_mode=700 0 1 -
Create secrets file in your home:
12345$ mkdir ~/.davfs2/$ echo "https://webdav.example.com webdavuser webdavpassword" >> ~/.davfs2/secrets$ chmod 0600 ~/.davfs2/secrets -
Now you should be able to mount and unmount ~/webdav:
1234# mount ~/webdav# fusermount -u ~/webdav -
To solve the certificate warning, add the command you used in step 4 to ./.bashrc -adapted from Owncloud site link
123echo "y" | mount ~/owncloud > /dev/null 2>&1 - Reboot your WD My Cloud and your Arch Linux box, Enjoy!!
Install Owncloud IOS app and follow instructions for file sharing etc
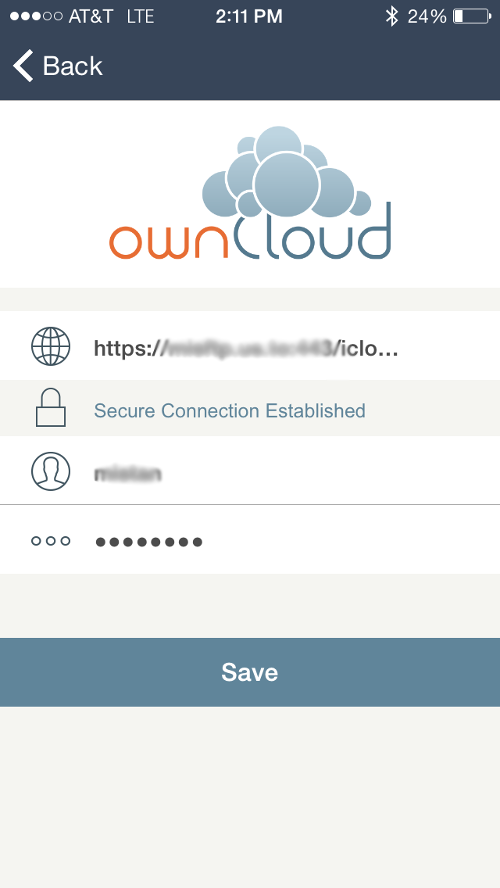
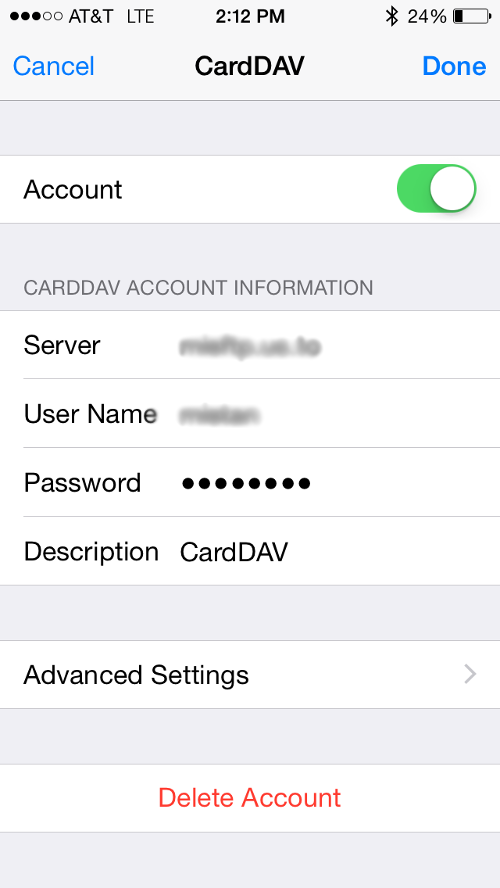
IOS APPZ -use simple url or ip plus username and password for access. iPhone/setting/Contact etc/add caldav and carddav to sync link calender and contact, need to add a contact in owncloud to activate contact first, restart sever if needed.
Other Goodies for your WD Cloud drive
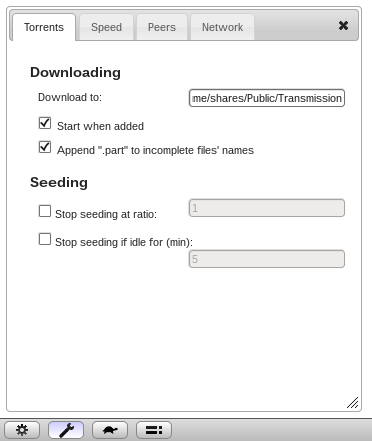
Install Transmission
Install miniDLNA
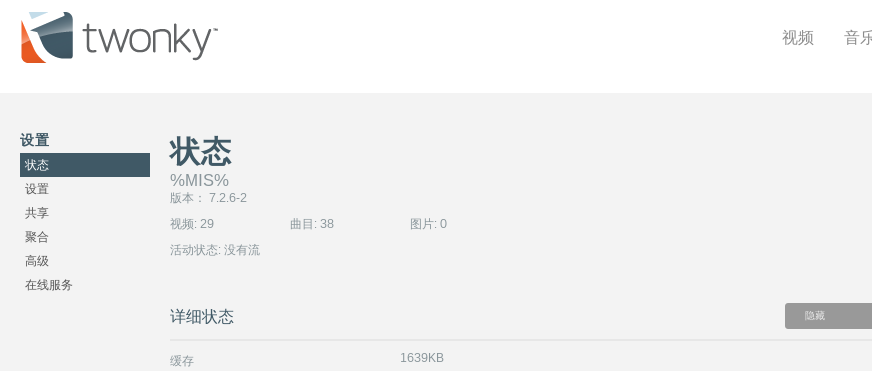
Follow this link Notes: failed since it wants to update nfs-common and nfs-kernerl Just use the built-in Twonky at port 9000
GIT installation
Notes: only install git-core, otherwise the SSH update will mess up the configuration setting.
- Follow this guide.
-
Getting Git on a server (follow link here) on client system, create a bare repository with following
123$ git clone --bare my_project my_project.gitand,put the bare repository on a Server
123$ scp -r my_project.git user@git.example.com:/opt/git
Footnotes:
wheezy is current version. jessie = next version, sid = experimental version.
JAN

About the Author:
Beyond 8 hours - Computer, Sports, Family...