Parts Needed
- Arduino Uno or Mega board
- UNO R3 2.8 TFT Touch Screen with SD Card Socket
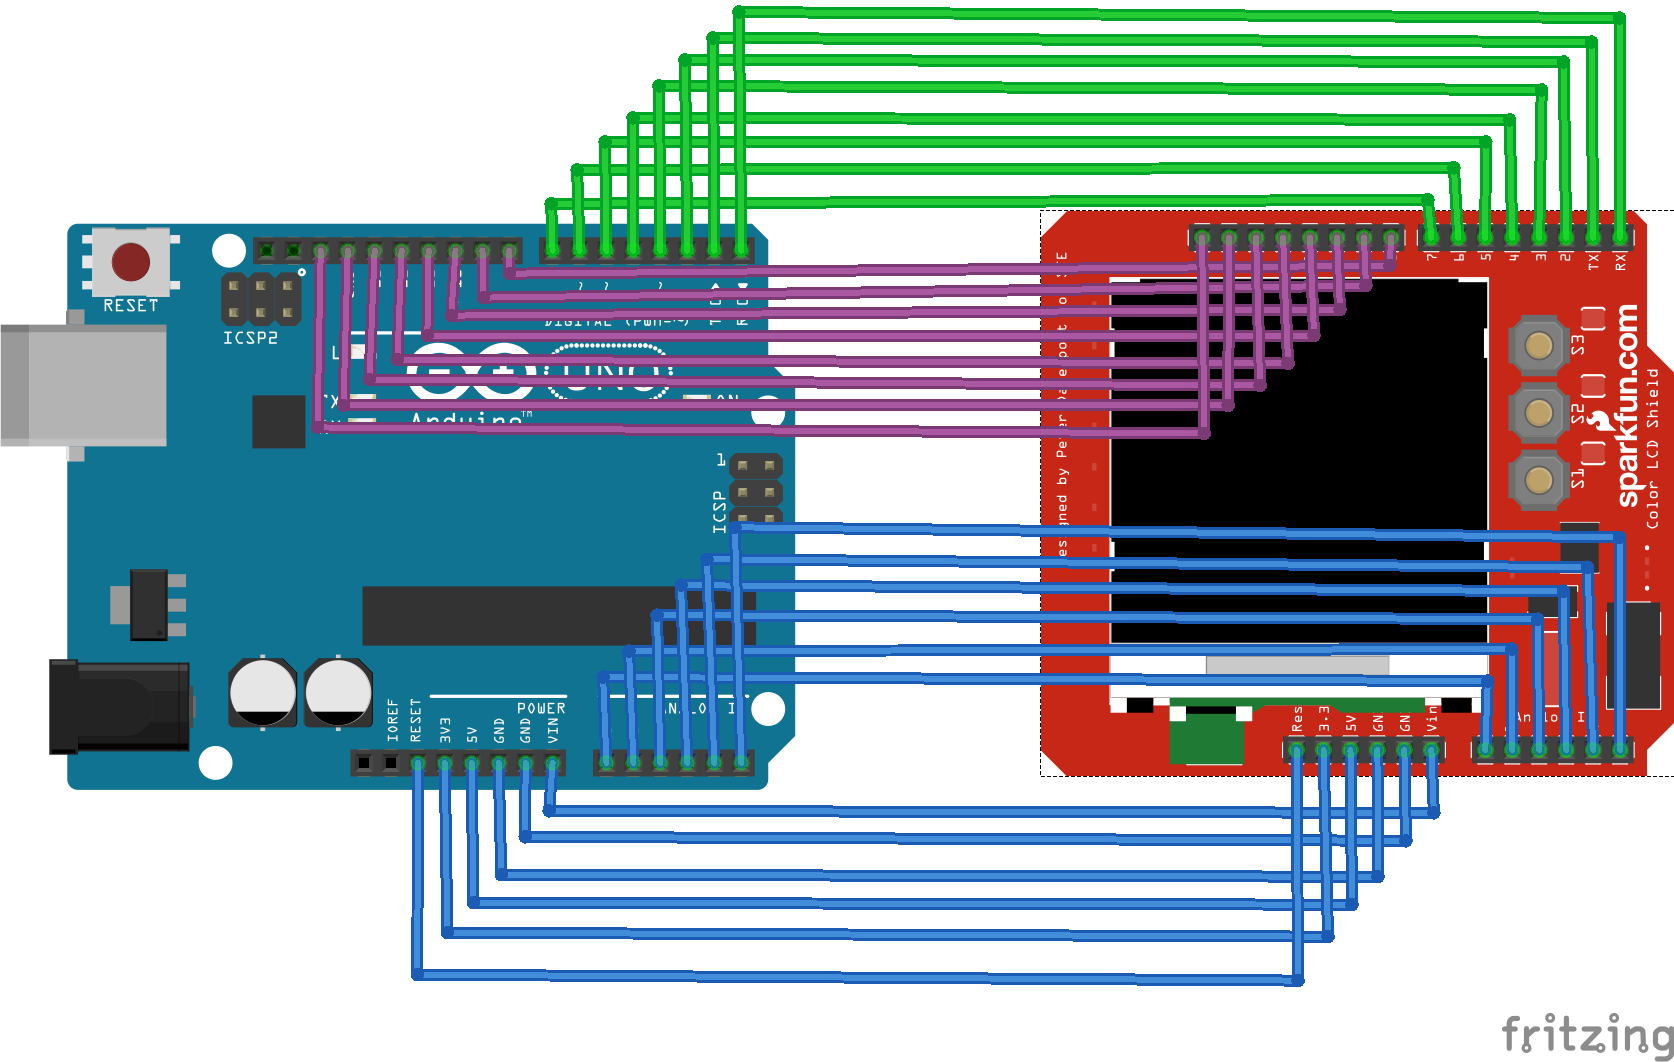
Fritzing Schematic
Well, it is a shield, not a breakout board. All you need to do is align the pins and plugged in. Here it is anyway.
The changes needed to make with Ceez code
-
Download library from: ceez blog Modify pin configration for this TFTLCD.
123456#define YP A3 // must be an analog pin, use "An" notation!#define XM A2 // must be an analog pin, use "An" notation!#define YM 9 // can be a digital pin#define XP 8 // can be a digital -
Upload TSCalibration.ion and calibrate to fit your LCD
- use stylus to slide as indicated.
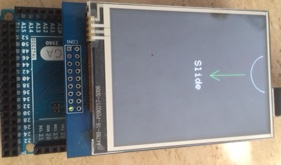
- Repeat and touch until you are content with alignment.
- In my case, I use following setting.
123456#define TS_MINX 924#define TS_MINY 943#define TS_MAXX 113#define TS_MAXY 94 -
and, uncomment this line :
123//ts.orientation = 2; // rotate 180 degreeupdate: NOT needed in ztouchscreen library, usage as following (in readme file), ts.InitVariable(0, 240, 320, TS_MINX, TS_MAXX, TS_MINY, TS_MAXY, MINPRESSURE, MAXPRESSURE);
-
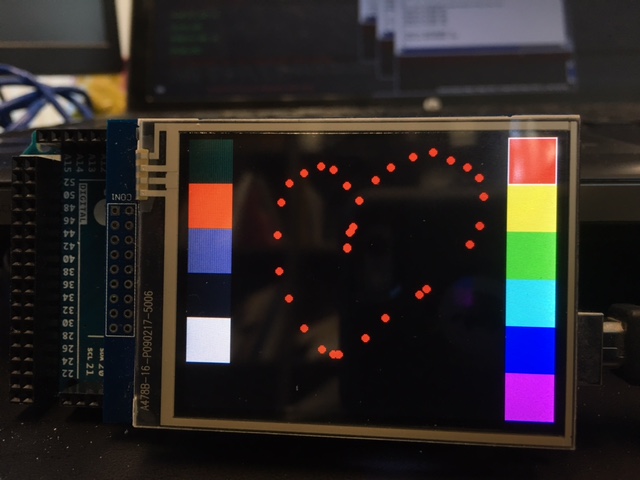
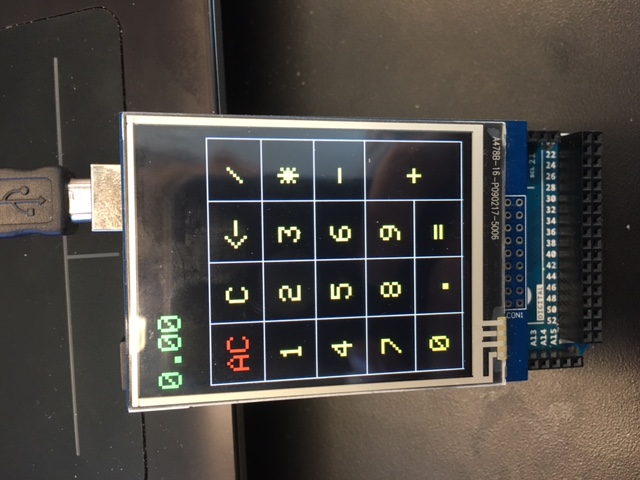
A couple of screen shots:
To work with mega board
uncomment line 14 of file LGDP4535.cpp
|
1 2 3 |
#include "mega_24_shield.h" |
and, comment the line 15
|
1 2 3 |
//#include "uno_24_shield.h" |
The Coordinate for LCD Display (tft) and Touch Screen (ts)
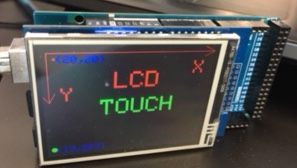
It sounds crazy and dump, but this is the way it is. As shown in following, the cordinates for LCD display and Touch screen are different [UPDATE:see next session]. Top left is the USB port.

To convert LCD coordinate (x,y) and Touch Screen coordinate (p.x, p.y), using following: p.y=x and p.y=240-x. Of course, p.x and p.y are remapped to LCD resolution.
Use following to define the touch area:
|
1 2 3 4 5 |
if (p.y > xmin && p.y < xmax && p.x > (240-ymax) && p.x < (240-ymin)) { //code here } |
Sync the LCD display (tft) and touch screen (ts) coordinates [UPDATE:11/16/2015]
It took me a while, but I figured out that it is quite easy to synchronize the TFT display and the touch-screen (ts) coordinates with ceez’s zTouchScreen library.
-
Rotate the tft to whatever orientation you like, landscape in following case.
1234tft.setRotation(1); //rotate tft LCD into landscape (with USB port at top left), which is the DEFAULTts.InitVariable(1, 240, 320, TS_MINX, TS_MAXX, TS_MINY, TS_MAXY, MINPRESSURE, MAXPRESSURE); //ts rotate 90 degC to match tft -
Match the touchscreen orientation same as the TFT LCD display. The first arg is for rotation config (1=90deg)).
123ts.InitVariable(1, 240, 320, TS_MINX, TS_MAXX, TS_MINY, TS_MAXY, MINPRESSURE, MAXPRESSURE); //ts rotate 90 degC to match tft -
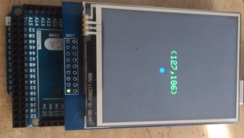
Here it is! No need of convoluted transformations. Green dot is the ts with its coordinates (13,223).
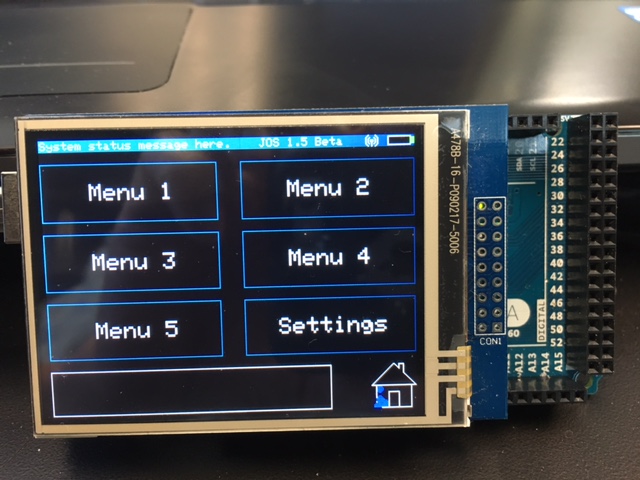
To work with JOS Menu library
- Download code from here, and video demo and explaination here.
-
LCD displays ok, debug mode needs to be set ON and Off as following in order to debug touch screen.
12345#ifdef DEBUGtft.fillCircle(p.y, 240-p.x, PENRADIUS, BLUE);#endif -
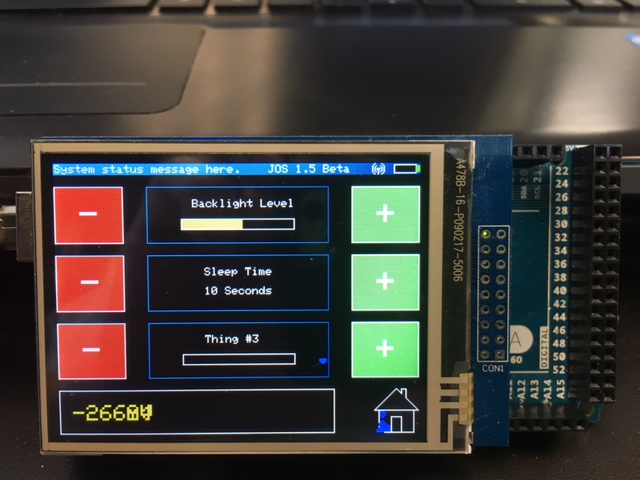
Turn On and then Off the Sleep and backlight settings saved in EEPROM (NB: The brightness of TFT is not adustable; and I have to repeat this many times before it works.)
- If you want to make your own GUI, use Illustrator or Inkscape. See my other post here.
OCT
About the Author:
Beyond 8 hours - Computer, Sports, Family...