Preamble
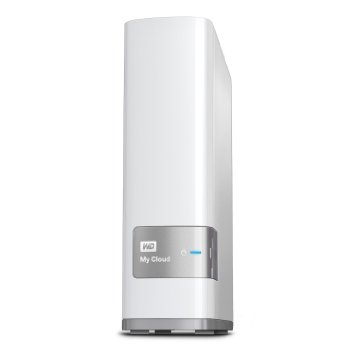
After using WD My Cloud with version 3 for about a year for the sake of hacking, I finally give it up and switch to version 4. With Nazar’s prebuilt Appz, I have been successfully installed following packages without much issues.
Update and Installtion of the Firmware and APPZ
- Update the WD my Cloud the usual way.
- To proceed with the installation of the package, first you need to get the username and password from nazar. The credentials will expire hourly e.g. “1AM,2AM,3AM…” to prevent intentional abuse on my network resources. Click on the link below to get the credentials: http://teanazar.com/wdmycloud
-
After obtaining the credentials, just copy & paste into the SSH terminal session of your WDMyCloud:
12345export NAZAR78_USER=user;export NAZAR78_PASS=pass;export NAZAR78_KEYS=keys; -
Then run the online installer on your WDMyCloud copy & paste as below, follow the instructions and enjoy (-:
123curl teanazar.com/installer.fcgi?webhosting-mods_1.0.0|sh;
NGINX Webhosting Coexisting with Apache2 (WD Dashboard needed)
NGINX installation transmission.png
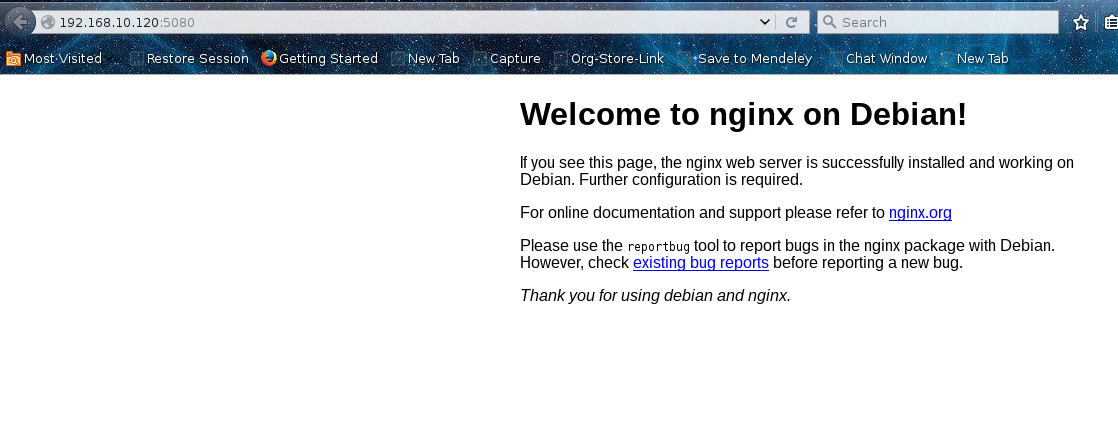
For webhosting, you will have following output at the end.
|
1 2 3 4 5 6 7 8 9 |
Default DocRoot: /var/www/html/. Test NGINX URL: http://MIS-WDMyCloud:5080/. Test PERL URL: http://MIS-WDMyCloud:5080/perlinfo-20151006-013105.pl. Test PHP URL: http://MIS-WDMyCloud:5080/phpinfo-20151006-013105.php. New tools now available: /usr/bin/unrar & /usr/bin/inotifywait. Modify /etc/esmtprc to use sendmail with your ISP SMTP server or Gmail. Forward TCP port 80 on your router to this NAS IP:192.168.10.120 PORT:5080 to access from the internet http://66.215.160.253/. |
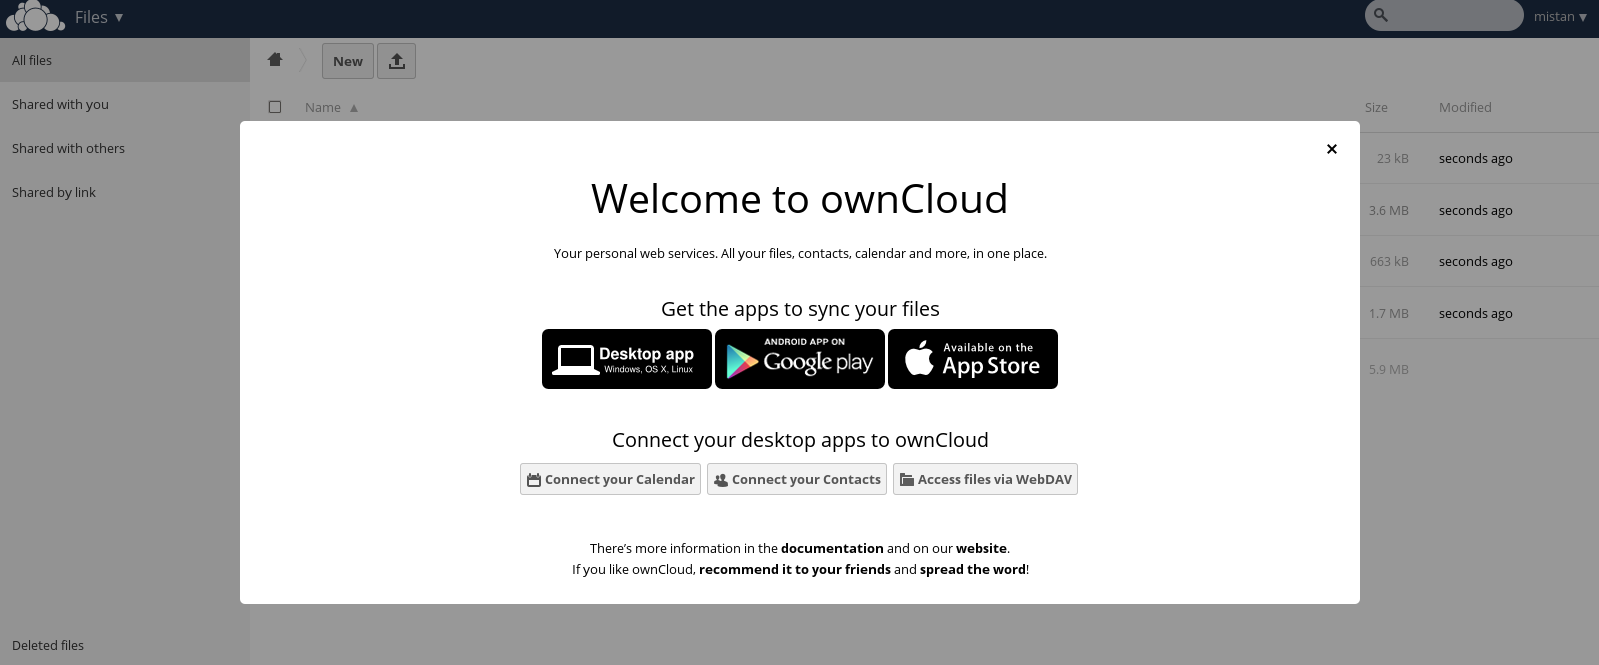
ownCloud
Follow instruction here.
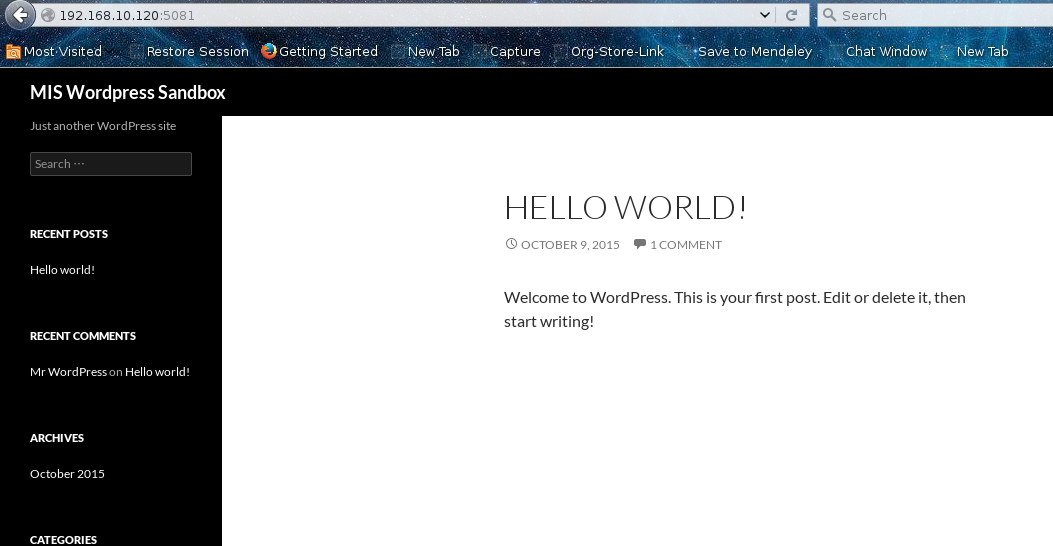
WordPress
Follow similar instruction and following setting, a WordPress is up and running.
|
1 2 3 4 5 6 7 8 9 10 11 12 13 14 15 16 17 18 19 20 21 22 23 24 |
# Below should have already been set in /etc/nginx/sites-enabled/default. # Uncomment if you have removed the default config. # upstream php5-fpm.sock { # server unix:/tmp/perl-fcgi.sock; # keepalive 1; # } server { listen 5081; server_name localhost; #root /var/www/html/wordpress; root /DataVolume/wordpress; index index.php; location / { try_files $uri $uri/ /index.php?$args; } location ~ ^(.+?\.php)(/.*)?$ { include snippets/fastcgi-php.conf; include fastcgi_params; fastcgi_pass php5-fpm.sock; } } |
Create a database for installation:
|
1 2 3 |
mysql |
|
1 2 3 4 5 6 |
CREATE DATABASE wordpress; CREATE USER wordpressuser@localhost IDENTIFIED BY 'password'; GRANT ALL PRIVILEGES ON wordpress.* TO wordpressuser@localhost; FLUSH PRIVILEGES; |
Transmission
|
1 2 3 4 5 6 7 8 9 10 11 12 13 14 15 16 17 18 19 20 21 22 23 24 25 26 27 28 29 |
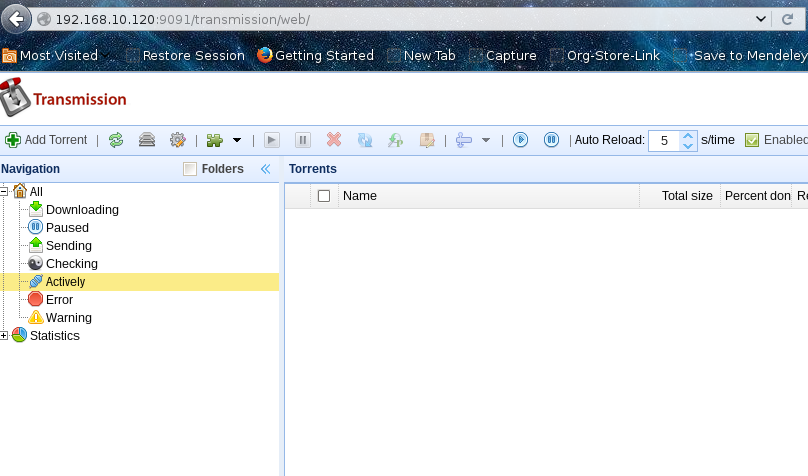
Creating relevant paths '/shares/Public/Transmission'...OK! Creating relevant symlinks '~/.config/transmission-daemon'...OK! Generating 'settings.json'...OK! Disabling 'rpc-whitelist'...OK! Enabling 'watch-dir' in '/shares/Public/Transmission/Downloads'...OK! Setting up crontab at reboot...OK! Restarting Transmission 'transmission-daemon'...OK! Default WebGUI: http://MIS-WDMyCloud:9091. Before updating firmware: tar zcf /shares/Public/transmission.tar.gz ~/.config/transmission-daemon; After updating firmware: tar xf /shares/Public/transmission.tar.gz -C /; Run the online installer again. Your settings will be preserved and you may then remove the tar backup. Download and untar the new theme into path /root: cd && curl -L https://github.com/ronggang/transmission-web-control/raw/master/release/transmission-control-full.tar.gz | tar xz; Edit environment with "nano ~/.profile" and add/replace as below: export TRANSMISSION_WEB_HOME=/root/web Edit crontab with "crontab -e" and replace as below: @reboot export TRANSMISSION_WEB_HOME=/root/web && /usr/local/bin/transmission-daemon Stop then restart the daemon: export TRANSMISSION_WEB_HOME=/root/web && transmission-stop && transmission-daemon; |
|
1 2 3 4 5 6 7 8 9 10 11 12 13 14 15 |
Another webGUI interface theme (Highly recommended! Thanks Joaco_AR for sharing in this thread): Download and untar the new theme into path /root: cd && curl -L https://github.com/ronggang/transmission-web-control/raw/master/release/transmission-control-full.tar.gz | tar xz; Edit environment with "nano ~/.profile" and add/replace as below: export TRANSMISSION_WEB_HOME=/root/web Edit crontab with "crontab -e" and replace as below: @reboot export TRANSMISSION_WEB_HOME=/root/web && /usr/local/bin/transmission-daemon Stop then restart the daemon: export TRANSMISSION_WEB_HOME=/root/web && transmission-stop && transmission-daemon; |
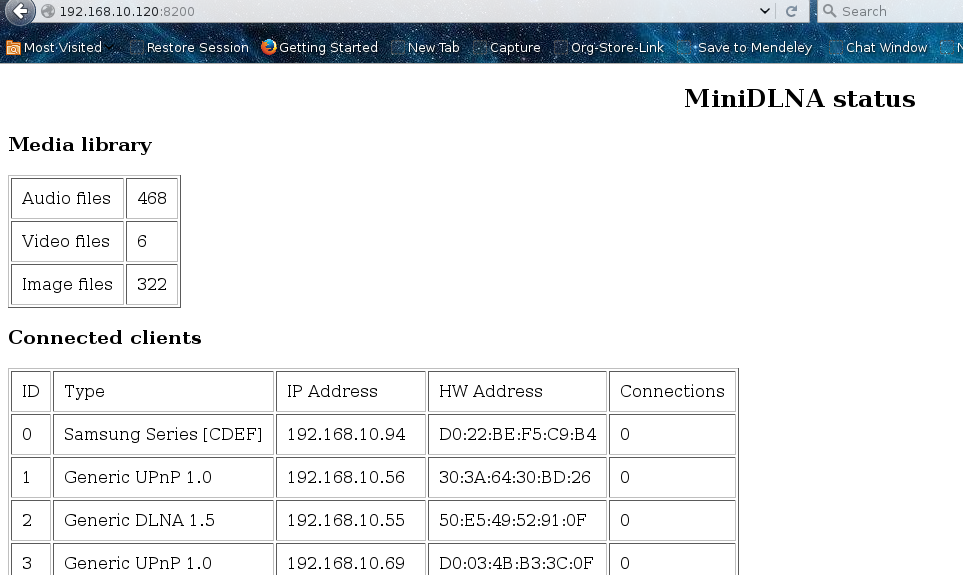
miniDLNA (now ReadyMedia 10/10/2015-01:38:57 PM)
Config more settings if needed with following:
|
1 2 3 4 |
nano /etc/minidlna.conf media_dir=/paths/to/your/media/ |
go to port localhost:8200
pyLoad
|
1 2 3 4 5 6 7 8 |
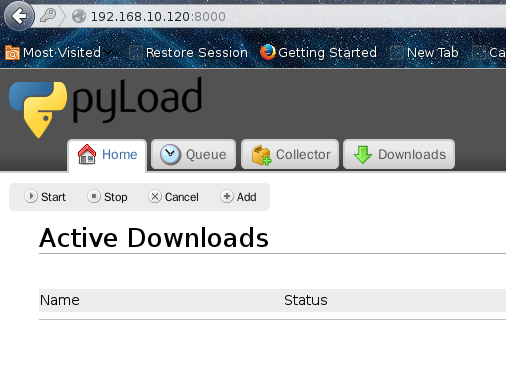
Restarting pyLoad service...OK! Default WebGUI: http://MIS-WDMyCloud:8000. #Reload to configure pyLoadCore -s; After that: service pyload start; /root/.pyload/pyload.conf. |
SickBeard
|
1 2 3 4 5 6 7 |
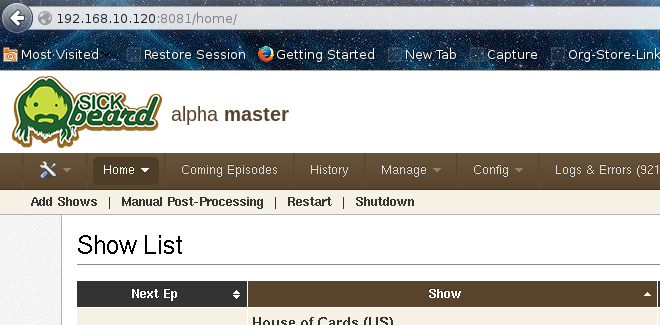
Checking if Sick Beard service has started...OK! Default WebGUI: http://MIS-WDMyCloud:8081. How to use? * The ultimate PVR application that searches for and manages your TV shows. * Note that Sick Beard and SickRage runs on the same port 8081. Change either port from the WebGUI/config file if you plan to install both. * For more details refer to: http://sickbeard.com/. |
NZBGet
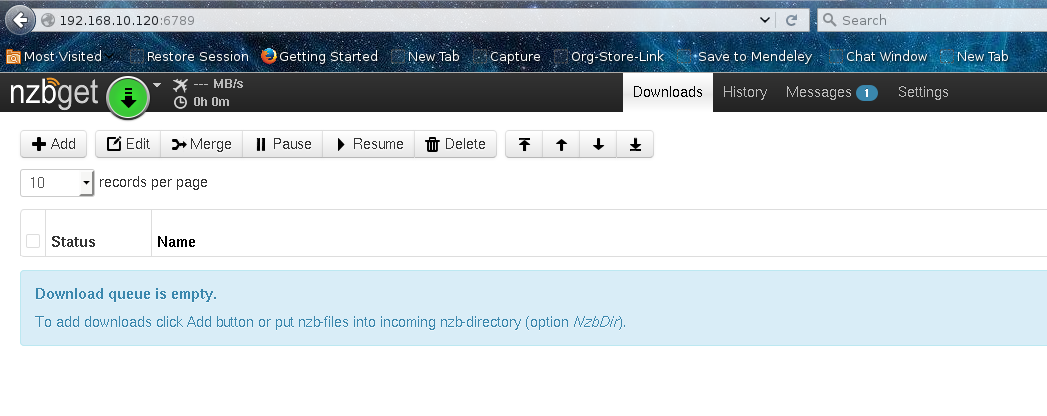
SickBeard just populates your shows, your will need NZBGet or something similar to download your stuff, if you can still find a server.
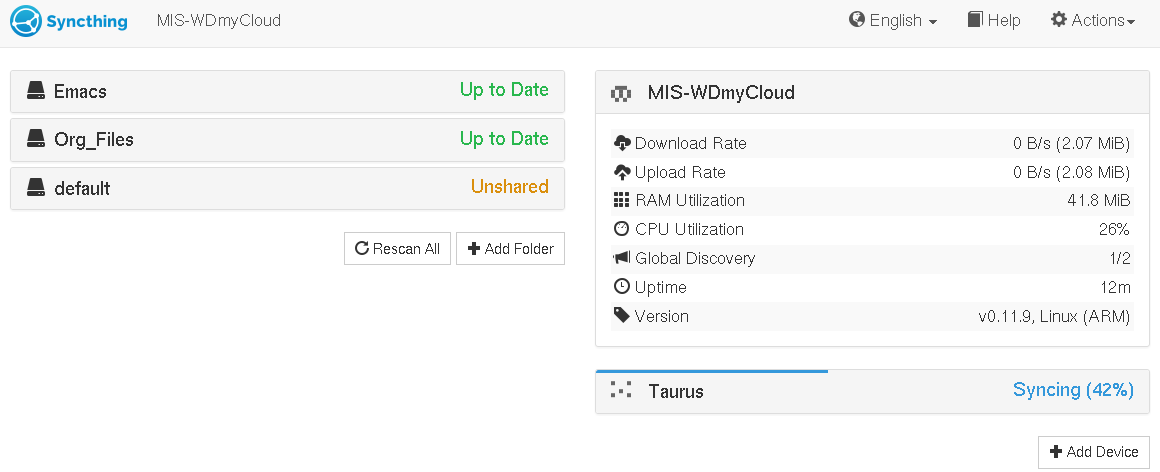
Syncthing – a Must Have Tool for File Sync
with a WebGUI:
FlexGet
|
1 2 3 4 5 6 7 8 9 10 11 12 13 14 15 16 17 18 19 20 21 22 23 |
curl teanazar.com/installer.fcgi?flexget_1.2.309|sh; How to use? - Firstly edit the YAML format config file: '~/.config/flexget/config.yml'. Transmission torrent sample: htt p://flexget.com/wiki/Cookbook/Series/SeriesPresetMultipleRSStoTransmission. - Run FlexGet from anywhere: 'flexget execute' or 'flexget -h' for help. Log default in the '~/.config/flexget/ flexget.log'. - You can schedule a cronjob to run your task with: 'crontab -e' @hourly /usr/local/bin/flexget --cron execute - Or use the plugin webUI(under development): /usr/local/bin/flexget webui accessible from http://wdmycloud: 5050 (default user:flexget pass:flexget). - Or schedule the plugin webUI to start at boot: 'crontab -e' @reboot /usr/local/bin/flexget webui - Or schedule to start at boot as daemon: 'crontab -e' @reboot /usr/local/bin/flexget daemon start -d - To stop the background daemon or webUI: 'killall flexget'. |
To Check emailing function:
|
1 2 3 4 5 6 7 |
#For more details refer to: http://flexget.com/wiki/TracGuide. #email TO=to@to.com; FROM=from@gmail.com; echo -e "To:$TO\nFrom:$FROM\nSubject:ESMTP Test\n\nHello World" | sendmail $TO; |
OCT

About the Author:
Beyond 8 hours - Computer, Sports, Family...