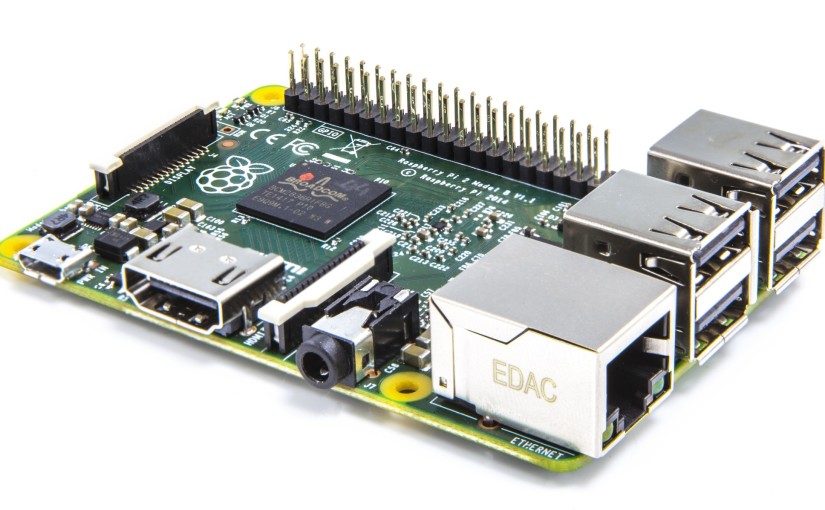
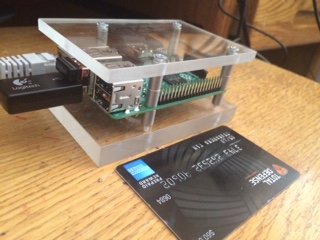
An inexpensive credit-card-size computer
From official site: “The Raspberry Pi is a credit-card sized computer that plugs into your TV and a keyboard. It’s a capable little PC which can be used for many of the things that your desktop PC does, like spreadsheets, word-processing and games. It also plays high-definition video.”
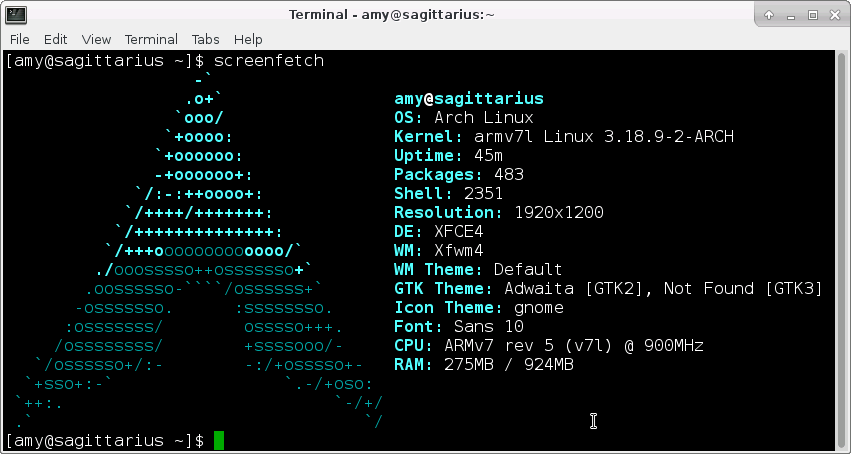
Arch Linux installation on Raspberry Pi
UPDATE: Step 1-12 can be reduced to a script, and I disabled the network in conf file.
-
Start with fdisk to partition the SD card:
123fdisk -l #to id sd card shown as sdX or mm**1234umount /dev/sdXfdisk /dev/sdc12345Welcome to fdisk (util-linux 2.25.2).Changes will remain in memory only, until you decide to write them.Be careful before using the write command. - At the fdisk prompt, delete old partitions and create a new one:
- Command (m for help): o Created a new DOS disklabel with disk identifier 0xb6a9de4c.
- Command (m for help): p Disk /dev/sdc: 14.9 GiB, 15931539456 bytes, 31116288 sectors Units: sectors of 1 * 512 = 512 bytes Sector size (logical/physical): 512 bytes / 512 bytes I/O size (minimum/optimal): 512 bytes / 512 bytes Disklabel type: dos Disk identifier: 0xb6a9de4c
-
Command (m for help): n Partition type p primary (0 primary, 0 extended, 4 free) e extended (container for logical partitions) Select (default p): p Partition number (1-4, default 1): 1 First sector (2048-31116287, default 2048): Last sector, +sectors or +size{K,M,G,T,P} (2048-31116287, default 31116287): +100M
Created a new partition 1 of type ‘Linux’ and of size 100 MiB.
- Command (m for help): t Selected partition 1 Hex code (type L to list all codes): c If you have created or modified any DOS 6.x partitions, please see the fdisk documentation for additional information. Changed type of partition ‘Linux’ to ‘W95 FAT32 (LBA)’.
-
Command (m for help): n Partition type p primary (1 primary, 0 extended, 3 free) e extended (container for logical partitions) Select (default p): p Partition number (2-4, default 2): 2 First sector (206848-31116287, default 206848): Last sector, +sectors or +size{K,M,G,T,P} (206848-31116287, default 31116287):
Created a new partition 2 of type ‘Linux’ and of size 14.8 GiB.
- Command (m for help): w The partition table has been altered. Calling ioctl() to re-read partition table. Re-reading the partition table failed.: Device or resource busy
- Restart for fstable to take effects
- Perform following steps as root, not sudo.
-
Create and mount the FAT filesystem:
123456sudo pacman -S dosfstools #for mkfs.vfat to workmkfs.vfat /dev/sdX1mkdir bootmount /dev/sdX1 boot -
Create and mount the ext4 filesystem:
12345mkfs.ext4 /dev/sdX2mkdir rootmount /dev/sdX2 root -
Download and extract the root filesystem (as root, not via sudo):
12345wget http://archlinuxarm.org/os/ArchLinuxARM-rpi-latest.tar.gzbsdtar -xpf ArchLinuxARM-rpi-latest.tar.gz -C rootsync -
Move boot files to the first partition:
123mv root/boot/* boot -
Unmount the two partitions:
123umount boot root - Insert the SD card into the Raspberry Pi, connect ethernet, and apply 5V power.
- Start up Raspberry PI and you should be greeted with Arch Console, log in with root /root.
-
Just update your mirror list and type:
123sudo pacman -SyyYou have a Arch Linux system without GUI.
-
Install Graphic Display
123pacman -S xorg-server xorg-server-utils xorg-xinit -
The X.org driver for Raspberry Pi can be installed with the xf86-video-fbdev package:
123pacman -S xf86-video-fbdev -
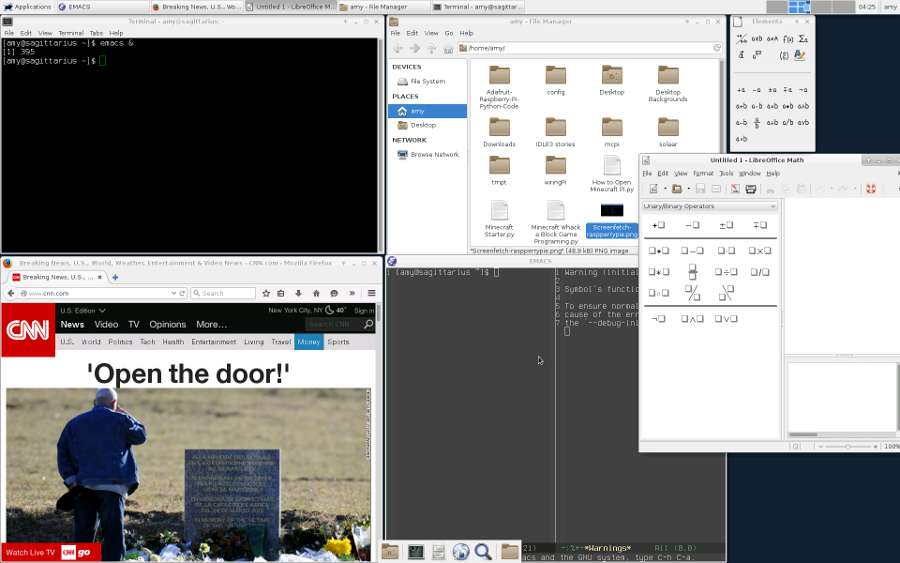
Now it’s time to install your Desktop Environment. I’m going with XFCE4, you may go ahead and try something different if you want to.
123sudo pacman -S xfce4Press ENTER for all it asks. After the installation check if you have a .xinitrc file in the directory:
1234ls -lanano .xinitrcUncomment the line to start xfce4: exec startxfce4. Make it executable:
123chmod +x .xinitrc -
Slim login control
12345pacman -S slimsystemctl start slim.service // for startup entrysystemctl enable slim.service // and enable the service
-
Install the goodies of xfce4 and whatever package you need or want.
123sudo pacman -S xfce4-goodies gcc firefox chromium -
Install the guest-additions :
123pacman -S virtualbox-guest-utlis -
install sudo
123pacman -S sudo -
Add root access to new user
12345EDITOR=nano visudo# uncomment the line below to say%wheel ALL=(ALL) ALLSave and exit.
-
Ccreate a new user.
12345useradd -m -g users -G wheel -s /bin/bash "username"# Change the password of your own user:passwd "username" -
add user to sudoer
123EDITOR=nano visudoadd: username ALL=(ALL) ALL save as .tmp file, then overwrite.
-
Reboot and you should be there!
-
Audio /Video
123sudo pacman -S alsa-utils alsa-firmware alsa-lib alsa-plugins -
install pacaur with following script
123curl -s https://gist.githubusercontent.com/rumpelsepp/d646750910be19332753/raw/651393f258c41638fad4425473283e1d4e937ba4/install-pacaur.sh | bashIssue command “export EDITOR=nano” if editor variable unset error. https://github.com/rmarquis/pacaur/issues/637
Install wifi Tools
|
1 2 3 4 5 6 7 8 9 10 11 12 |
# Install the wpa_supplicant tools $ sudo pacman -S wpa_supplicant # Install the wireless tools $ sudo pacman -S wireless_tools #Install the networkmanager $ sudo pacman -S networkmanager #Install the network-manager-applet aka nm-applet $ sudo pacman -S network-manager-applet #Install gnome-keyrin $ sudo pacman -S gnome-key-ring |
Configuration wifi
|
1 2 3 4 5 6 7 8 9 10 11 12 13 14 15 16 17 18 19 20 21 22 23 24 25 26 27 28 29 30 31 32 33 34 35 36 |
#Make the networkmanager start on boot: $ sudo systemctl enable NetworkManager.service #Disable dhcpcd #Since networkmanager wants to be the one who handles the dhcpcd related stuff, you have to disable and stop dhcpcd: $ sudo systemctl disable dhcpcd.service $ sudo systemctl disable dhcpcd@.service $ sudo systemctl stop dhcpcd.service $ sudo systemctl stop dhcpcd@.service #Enable wpa_supplicant, if you want to use your wireless connection: $ sudo systemctl enable wpa_supplicant.service #Add your user to the network group: $ gpasswd -a USERNAME network # At this point, you should be all set. #Turn off network interface controllers: #Turn off your network interface controllers, in my case eth0 and wlan0: $ ip link set down eth0 $ ip link set down wlan0 #Now start wpa_supplicant: $ sudo systemctl start wpa_supplicant.service #Finally start the networkmanager: $ sudo systemctl start NetworkManager.service #If you get an error about unreachable D-Bus, just ignore it. #If the networkmanager is not running and network-manager-applet does not show up in your upper GNOME3 panel, try this: $ sudo Networkmanager $ nm-applet |
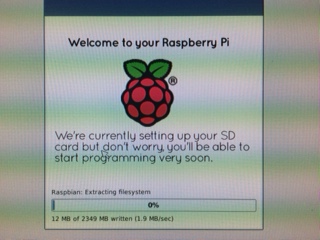
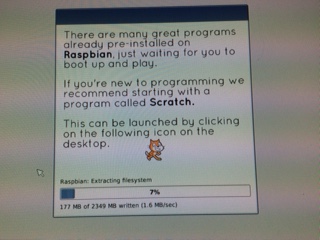
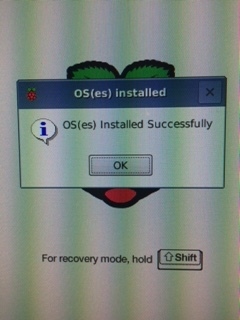
Raspberry Pi setup with Debian [Raspbian] via NOOBS
- Format microSD card in fat32 format (Windows quickformat via right-click works fine for me).
- Download NOOBS link
- Plugin monitor via HDMI, USB keyboard and mouse
- Plugin 5V USB power
-
Following on-screen instructions for installation (use keyboard shortcut to make selection if your mouse does not work at this point).
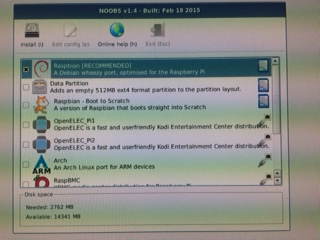
- rasp-config to change setting (you can change later).
-
Update the system
1234sudo apt-get updatesudo apt-get upgrade -
Flash and firefox [codename:iceweasel]
12345sudo apt-get install iceweaselsudo apt-get install browser-plugin-gnash # flash-playersudo apt-get install icedtea-plugin #javaNote: both should work with Chromium and Firefox.
-
change root name from console
12345exec sudo -scd /usermod -l newname -d /home/newname -m oldname
Always another path
phortx/Raspberry-Pi-Setup-Guidephortx/Raspberry-Pi-Setup-Guide A really opionionated guide how to setup a RPi with Arch Linux including WiringPi, ntp, wi-fi, ssh, ruby, zsh etc.
Sandbox for Kid… and Adults
- Minecraft coding
- Python programming
- Mathmatica
- Scratch from MIT
-
GPIO control and monitoring, following is to make a blinking LED
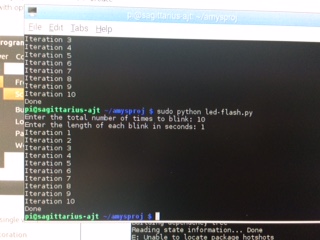
https://www.youtube.com/watch?v=Zks9mBtGtIY&feature=em-upload_owner
Notes
- A few useful sites for ArchPi: http://archpi.dabase.com/ http://archlinuxarm.org/platforms/armv6/raspberry-pi https://wiki.archlinux.org/index.php/Raspberry_Pi http://elinux.org/ArchLinux_Install_Guide
- RUN breakout 2 holes next LEDs onboard can be used for reset (link).
- LED lights project with flashing (link)
- An old IDE works fine with GPIO pin.
- rpi-firmware update https://github.com/Hexxeh/rpi-update
- Turn Raspberry Pi into a survillance system with motioneyeOS
-
Kodi as an entertainment server with all possible media, instruction here, and arch wiki.
1234sudo pacman -S kodi#choose kodi-rbp
MAR
About the Author:
Beyond 8 hours - Computer, Sports, Family...