Preamble
There are two ways to draw bitmap images in Arduino TFT LCD – to draw from SD card, or convert them into byte array. The first is more powerful and works with true color bitmap images; the 2nd approach is more suitable for simple logo and monochrome images, and there is no need for SD capability for this method.
Convert Images to C++ Byte Array
There are a few options to convert image into byte array.
Image2Code
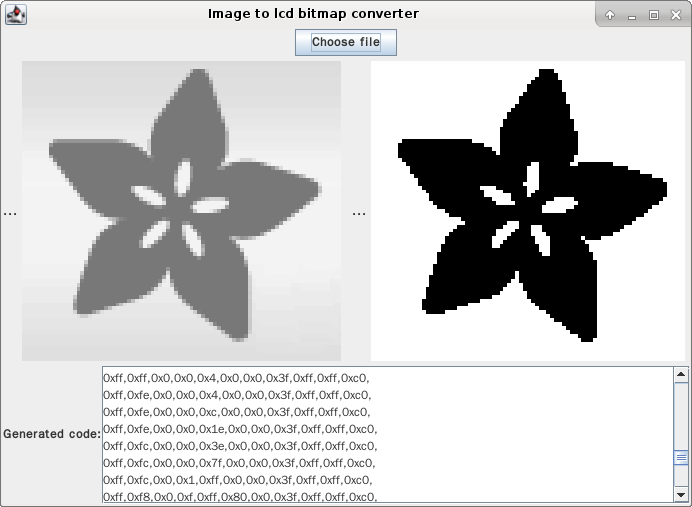
This is a handy Java GUI utility to convert a BMP file into the array code necessary to display the image with the drawBitmap function. Check out the code at ehubin’s GitHub repository: https://github.com/ehubin/Adafruit-GFX-Library/tree/master/Img2Code Note that this is a java-based program and you might need to install java from http://www.java.com/en/download/ if you haven’t already done so. Another tool, did not try. One more http://en.radzio.dxp.pl/bitmap_converter/ for windows?
- Download the utility from above link
-
Run the java utility
123java -jar Image2Code.jar -
Click choose file to convert, copy the code, and paste it into Arduino sketch.
NB: DrawBitmap in Arduino Sketch
-
Add following (otherwise it will display garbage) in front of the array:
123static const uint8_t PROGMEM myBitmap[] = {0xff...and draw with following code:
123tft.drawBitmap(220, 160, myBitmap, 82, 77, BLACK); //make sure the width and height is exactly the dimension of the image, drawXBitmap does NOT work -
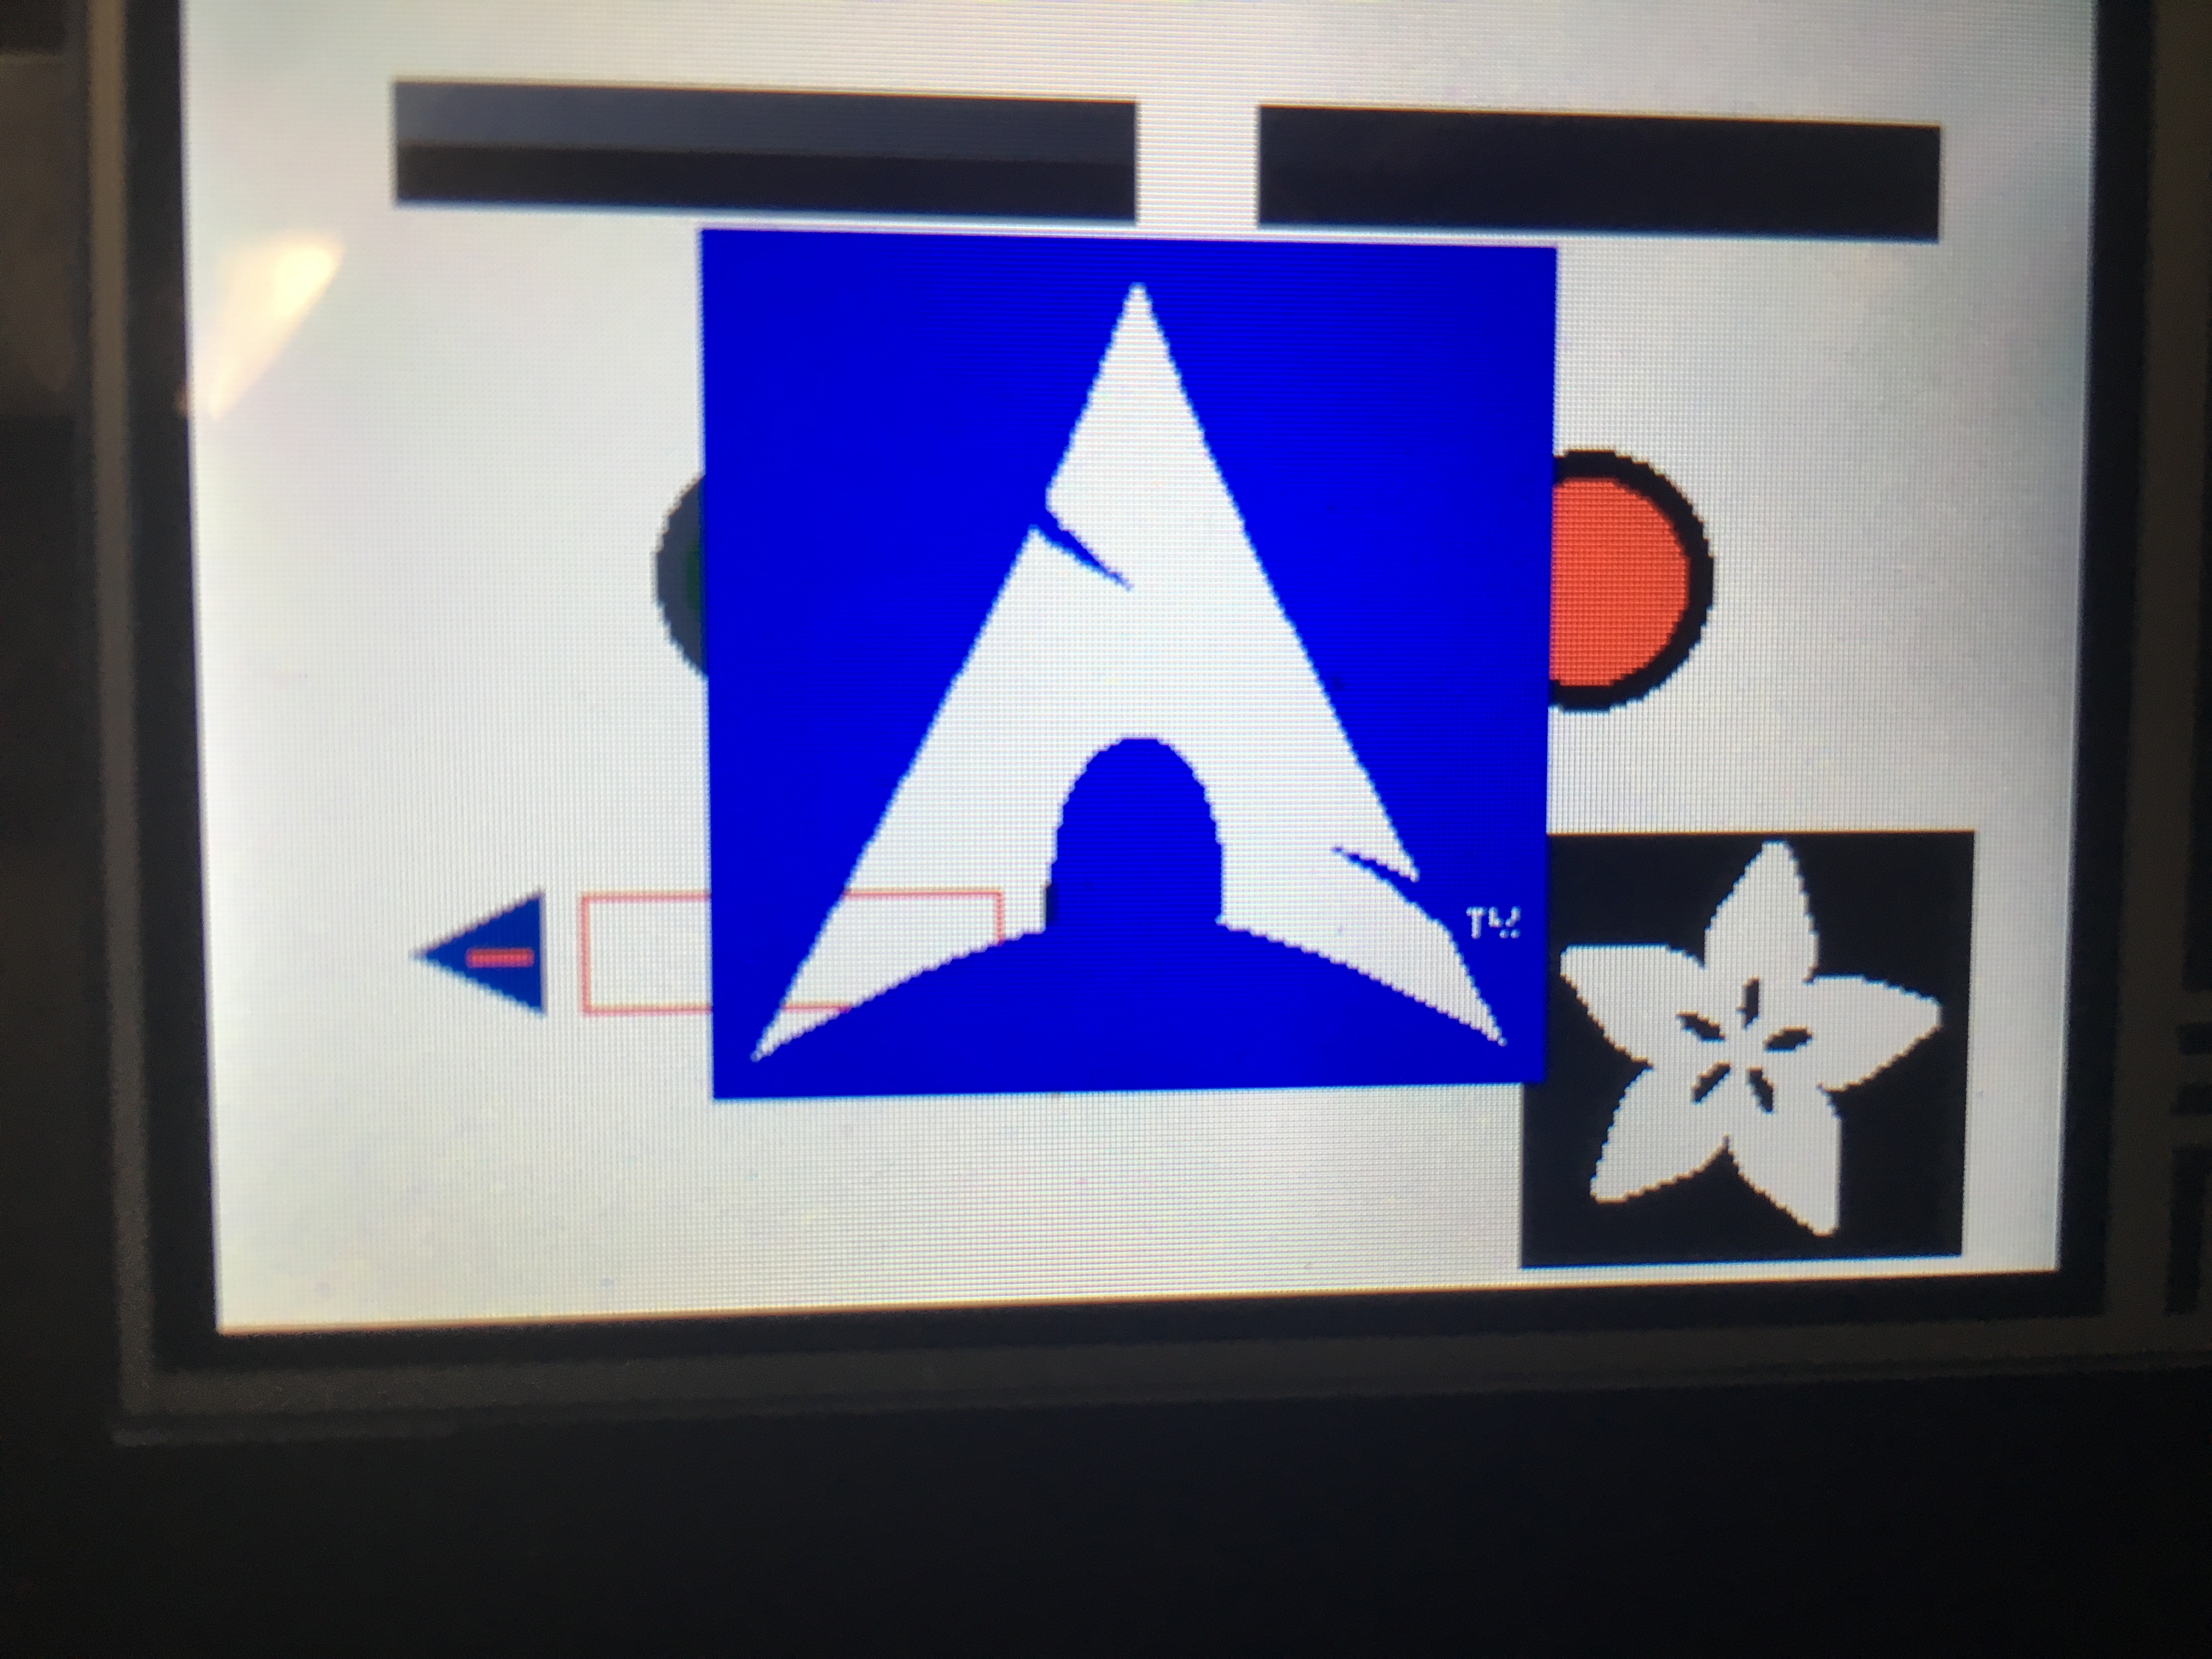
screenshots with Adafruit and Arch Linux logos
drawXBitmap function with GIMP exported Array
You can use the GIMP photo editor to save a .xbm file and use the array saved in the file to draw a bitmap with the drawXBitmap function. See the pull request here for more details: https://github.com/adafruit/Adafruit-GFX-Library/pull/31
Usage:
- Export from GIMP to *.xbm, rename *.xbm to *.c and open in editor.
- C Array can be directly used with this function
-
Arduino Sketch
123static const uint8_t PROGMEM myBitmap[] = {0xff...and draw with following code:
123tft.drawXBitmap(220, 160, myBitmap, 82, 77, BLACK); //drawXBitmap
NOV
About the Author:
Beyond 8 hours - Computer, Sports, Family...